How to Grow Dewberries
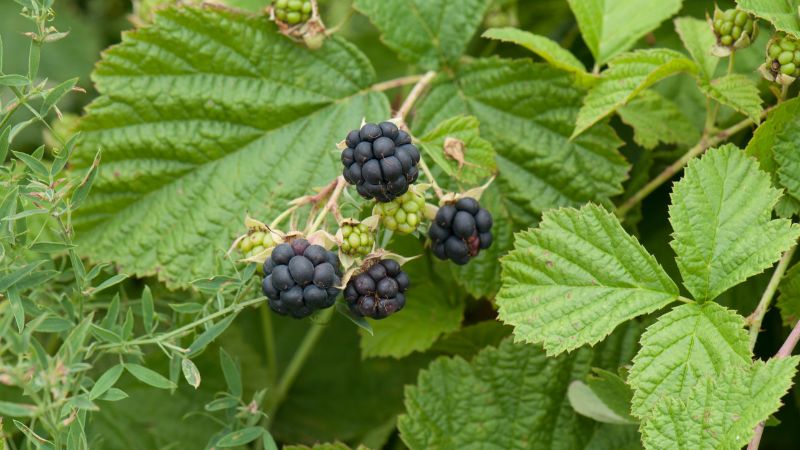
If you are a fan of the berries from the bramble family, then you most likely have heard about dewberries. These tiny fruits grow in very thin canes that spread close in the ground and are a tasty edible for many animals. In the next article, we will see how to grow dewberries from seed and cuttings.
Even though they are from the same species of blackberries, there are a few differences between them. If you want to see inquire about it, here is an article explaining the differences between blackberries and dewberries.
How to Grow Dewberries from Seed
Growing Dewberries from seed follows the same process I explained on how to grow blackberries from seed, as most brambles follow the same process. If possible, you want to stratify the seeds for the winter. Place them in pots after they sprout, and when they grow big enough plant them in a well drained soil with a Ph of 5.5-7.0. If you already know how to grow blackberries or raspberries, that same process should work for dewberries.
However, I will explain the process in the article, if you already know how to grow Dewberries, you can skip to the trellis process.
Collecting the Seeds
To get the seeds, take a dewberry and place it in a strainer, use your fingers or the back of a spoon to crush it and you will see the seeds pouring out of the fruit. Rinse with some water to clean the seeds and let them dry in paper towel.
Another way to get them is to purchase them. I recommend purchasing them in a garden shop near your area, there are also many suppliers that sells them online.
Planting the Dewberry Seeds
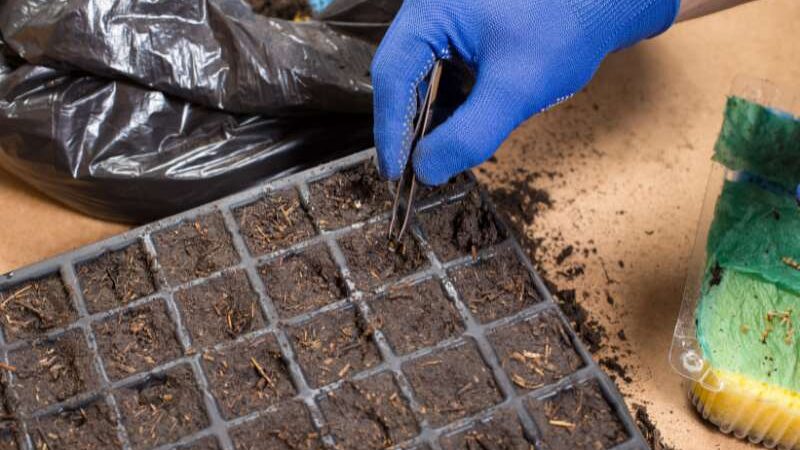
During winter months, plant 1-2 seeds in your seedling trays filled with some seed starting mix. Place them in a hole of about 1/4 inch deep from the top of the soil and gently pour some water in them, don’t over water, you want the soil to be damp but not wet.
Leave them in a cold place in your house for the winter, we want these seeds to go through a stratification process before planting them in the spring after all. Remember to water them from time to time to not let the seeds dry.
If you missed the winter and want to plant the berries this season, you can also place the seeds in paper towel, cover them with the same paper, and then place them inside a zip lock. Spray some water to the seeds and let them in your fridge for 4-6 weeks. Here is a video on how to stratify seeds.
When the process is over, place the dewberry seeds in a place that has a temperature between 65-75 Fahrenheit, they should sprout in 2-4 weeks.
When they sprout, you can either plant them in your garden bed or let them grow bigger in a pot and then transplant them into your garden some time after, just be sure to plant them in a well drain soil with a Ph of 5.5-7.0. As with many brambles, dewberries grow better in full sun.
How to Grow Dewberries from Cuttings.
Growing Dewberries from cuttings is easier and safer than growing them from seeds, with the only disadvantage of it being more expensive.
You can purchase dewberry cuttings from a nursery home near your zone or just get them in the wild (I don’t recommend this though, as the plant could bring diseases with it).
Make a hole in your garden that is big enough to plant the roots, make sure to give the soil a good hand of compost to help your dewberry plant grow bigger. If you get many cuttings, place each one of them between 5-6 feet apart.
Soil
Dewberries grow best in a sandy-loam soil with a Ph that ranges between 6-6.5, make sure to have a soil with rich nutrients. Despite this, they can be planted in any well draining soil and with a Ph of 5.5-7.0, as well as blackberries.
They do best in full sun and with a good layer of mulch around them. Remember to rip any perennial weeds of the ground to help with the growth of your young dewberry plants.
Trellis
It’s a good idea to build a trellis for most of the brambles, but with dewberries is almost a must thing to do as they have very thin vines and can propagate quickly through the floor.
The type of trellis is up to you but usually a T-trellis or a hedgerow trellis works good for brambles.
Fertilizing
You can add a good hand of all purpose fertilizer during the growth period of dewberries after they are established. You don’t want to add fertilizer when they are close to their fruiting period (so they focus on bearing fruit rather than producing leaves), but in the beginning dewberries will need 4-5 years to bear fruit, so you can apply fertilizer regularly in the first years.
Pruning Dewberries
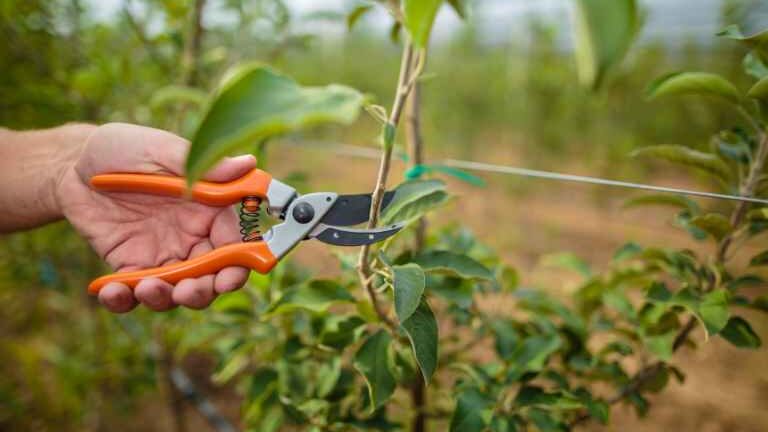
When dewberries start producing fruit they will bear only from their floricanes (second year canes). After harvesting season, you will want to prune all of the floricanes that already produced fruit that year, do this when they are dry and without leaves to avoid spreading diseases.
Prune any primocanes that grow away from the main root system (suckers) and just leave the healthiest primocanes. A good tip used for growing brambles is to cut the tip of the primocanes to induce the plants into lateral branching, this way they will produce more fruit.
Place the primocanes in the trellis place where that year floricanes used to be. However, if you live in a zone where the frost hits hard, you may want to leave them in the ground and cover them with some mulch, dewberries are less winter hardy than blackberries, so you will want to take some precautions.
Harvesting
Even though dewberries don’t have big thorns but they have little spikes that can scratch your skin a little bit, so if you have sensitive skin (like me) I recommend using gloves.
Dewberries fruits are very early ripening, so you will have these ready to eat from late April to early may. I hope this was useful to you, wish you a happy growing!